
Table of Contents
Your Ultimate Guide to Applying for a Tourist Visa Online
The thrill of planning an international trip is unmatched—imagining new sights, cultures, and cuisines. But between booking flights and packing bags, there’s often a crucial administrative hurdle: the visa application. The good news? More and more countries are moving their systems online, making it easier than ever to secure your travel permissions from the comfort of your home.
This comprehensive guide will demystify the process and walk you through exactly how to apply for a tourist visa online. We’ll cover everything from preliminary checks to post-submission steps, ensuring you can approach your application with confidence. Let’s get you one step closer to your dream destination!
Before You Begin: The Crucial Preparation Phase
Jumping straight into the application form without proper preparation is a recipe for stress and potential rejection. A successful online visa application starts with diligent groundwork.
First, Determine if You Need a Visa
Don’t assume you need a visa. Many countries have visa waiver agreements with others, allowing for short tourist stays without a visa. Your first step should always be to check the official immigration or embassy website of your destination country. Look for the page that outlines visa requirements specific to your nationality. This will provide the most current and reliable details.
Identify the Correct Visa Type
You’re traveling for leisure, so you need a tourist visa. Be careful not to apply for a business, student, or work visa by mistake. Many online portals will list various options, such as “Tourist Visa,” “e-Visa,” “Visitor Visa,” or “Short-Stay Visa.” Read the descriptions carefully to ensure you select the one that matches the reason for your visit, such as leisure travel, spending time with relatives or friends, or engaging in recreational activities.
Check Your Passport’s Validity

This is a simple but critical check that trips up many travelers. In many countries, your passport must be valid for at least six months after your planned departure date. It’s also important to have a minimum of two blank pages for immigration stamps. If your passport is close to expiring, be sure to renew it before submitting your visa application.
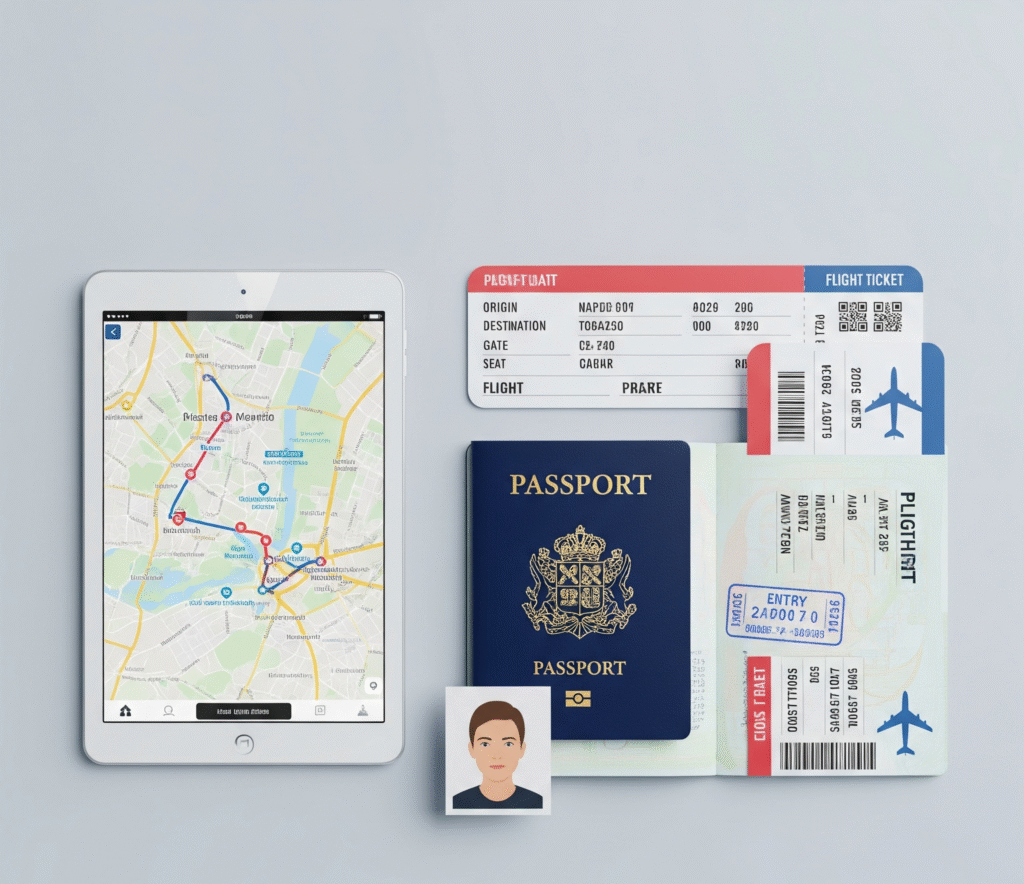
Gathering Your Digital Toolkit: Essential Documents
Applying online means you’ll need digital copies of your documents. Get these ready beforehand to make the process smooth and efficient. While specific requirements vary by country, here is a general list of what you’ll likely need:
- Scanned Copy of Your Passport: A high-quality color scan of your passport’s bio-data page (the one with your photo and personal information).
- Digital Passport-Sized Photo: This is often the trickiest part. The photograph should follow strict guidelines regarding background color (typically white or light-colored), size, and file format. Your face must be visible without shadows or glare.
- Proof of Funds: A bank statement from the last 3-6 months showing you have sufficient funds to cover your trip. This proves to the authorities that you won’t become a financial burden.
- Travel Itinerary: It doesn’t need to be finalized or unchangeable. A detailed plan of your trip, including flight reservations (not necessarily purchased tickets), hotel bookings, and a day-by-day schedule, is usually required.
- Accommodation details: This could include confirmed hotel bookings or an invitation letter if you’ll be staying with relatives or friends.
- A Valid Credit or Debit Card: To pay the non-refundable visa application fee online.
Pro-Tip: Scan and save all your documents as clearly named PDF or JPG files (e.g., “John_Doe_Passport.pdf,” “John_Doe_Bank_Statement.pdf”) in a dedicated folder on your computer.
The Step-by-Step Online Application Process
Once your preparation is complete, it’s time to tackle the application itself.
Step 1: Find the Official Government Portal
This is the most important step. Be sure to submit your visa application through official government websites only. These URLs typically end in .gov, .govt, or .[country-code]. Beware of third-party websites that look official but charge exorbitant extra fees for minimal assistance. The best way to find the correct portal is through the destination country’s embassy or consulate website in your home country.
Step 2: Create Your Account and Start the Application
On the official portal, you’ll likely need to create an account with your email address and a password. You will receive a confirmation email to activate your account. After signing in, navigate to the section labeled ‘New Application’ or ‘Visa Application’ to begin the process.
Step 3: Fill Out the Application Form with Precision
Take your time and fill out every section of the form accurately and honestly. Double-check your spelling, dates, and passport number. Common sections include:
- Personal Information (Name, DOB, Nationality)
- Passport Details
- Contact Information
- Travel Plans (Dates, Purpose of Visit)
- Employment Details
- Travel History
Honesty is paramount. Lying on a visa application, even about minor details, can lead to immediate rejection and potential bans on future travel.
Step 4: Upload Your Documents
This is where your prepared digital toolkit comes in handy. The portal will prompt you to upload the required documents. Pay close attention to file size and format restrictions (e.g., “maximum 2MB,” “PDF or JPG only”). If your files are too large, use an online tool to compress them without losing quality.
Step 5: Pay the Visa Fee
You will be directed to a secure payment gateway to pay the visa fee. This fee is almost always non-refundable, even if your application is denied. Use a credit or debit card for the transaction and keep a digital copy of the payment receipt for your records.
Step 6: Submit and Save Your Confirmation
After a final review of all your information, submit the application. The system will generate a confirmation page with an application reference number or transaction ID. Save, screenshot, and print this page. This number is necessary to monitor the progress of your application.
What Happens Next? The Waiting Game
You’ve submitted your application—now what?
- Tracking Your Application: Most online portals have a feature to check your visa status. You’ll need your application reference number and possibly your passport number to log in and see updates.
- The Biometrics Appointment or Interview: For some countries, an online application is just the first step. You may still be required to visit a visa application center (VAC) to provide biometrics (fingerprints and a photo) or attend a short interview. You will be notified if this is required.
- Understanding Processing Times: Patience is key. Visa processing times can range from a few hours for an e-visa to several weeks for a standard tourist visa. The official website will provide an estimated timeline, but this can be affected by the time of year and the volume of applications.
Conclusion: Travel Dreams Within Reach
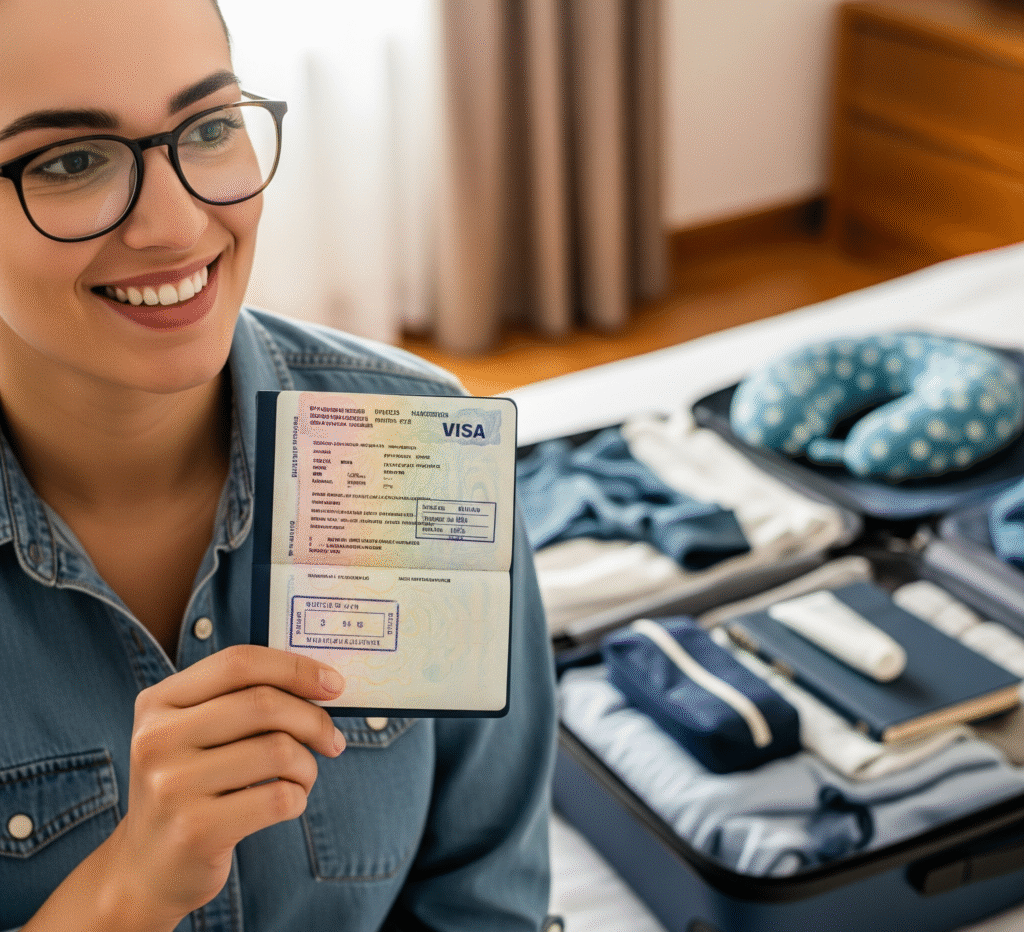
Applying for a tourist visa online doesn’t have to be a source of anxiety. By understanding the process, preparing your documents meticulously, and filling out the application with care, you significantly increase your chances of a successful outcome. Success depends on thorough preparation and careful attention to the details. Once you receive that visa approval email, the only thing left to do is finish packing!
Where are you planning to travel next?
Frequently Asked Questions (FAQ)
Q1: How far in advance of my trip should I apply for my online visa? For a typical tourist visa, it’s advisable to submit your application at least 4 to 6 weeks before your planned travel date. For e-visas, which have faster processing times, 1-2 weeks is often sufficient. However, always check the specific country’s recommended application timeline on their official website to avoid any last-minute issues.
Q2: What should I do if my online visa application is rejected? If your visa is rejected, the embassy will usually provide a reason. Review the rejection letter thoroughly to identify the reason for denial. Common reasons include insufficient funds, incomplete documentation, or inconsistencies in your application. You can typically reapply, but you must address the reasons for the initial rejection in your new application.
Q3: Is an e-visa the same as a visa-on-arrival? No, they are different. An e-visa (electronic visa) is a visa that you must apply for and receive online before traveling. A visa-on-arrival is granted to you when you land at the airport or border crossing in the destination country, without prior application. Ensure that you confirm the specific system applicable to travelers of your nationality in the destination country.